June, '07
Works in progress

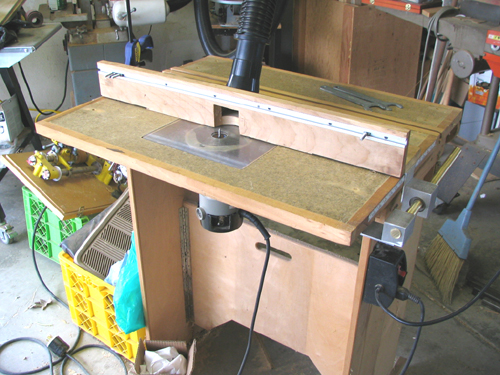
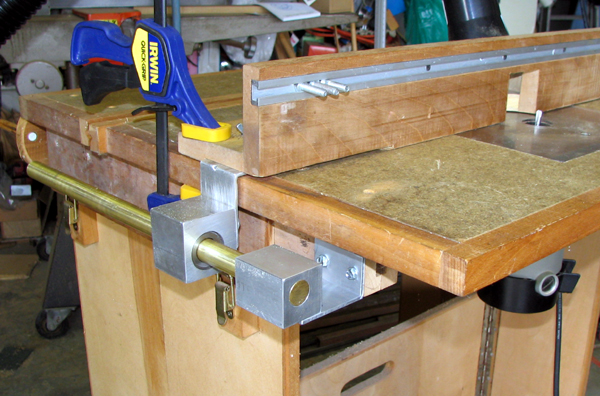
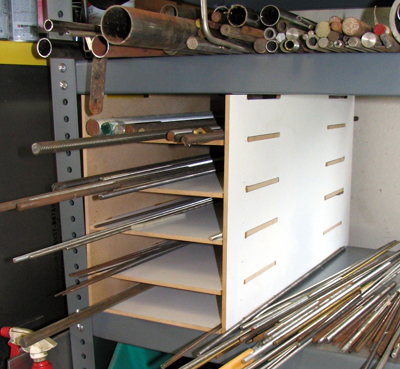
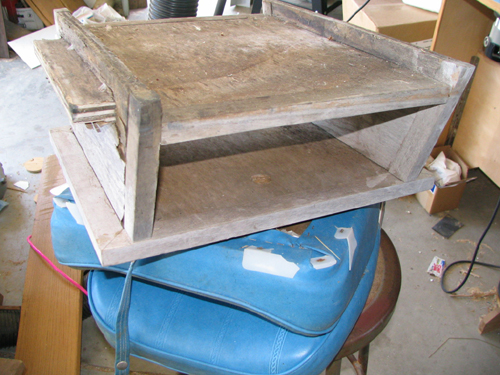
I had an idea for a set of mini-shelves that would nest within my new larger shelving system. This mini shelf complex would hold all of the odd bits; i.e. allthread, keyway stock and the like, seperate from general inventory. I designed a system that could go together with no other fasteners than some glue, but to do so it required that I be capable of routing parallel slots in pieces of material that were too big to attach to the mill. Trouble was I didn't have the kind of fence I needed on my router table, so I made one.

Photo #1: Overall shot of the finished parallel-travelling router fence attachment.
Photo #2: And here's the heart of the system. Just a pile of 1/8" x 2" angle aluminum pieces, slotted and/or tapped as needed, plus some blocks of 1-1/2" square aluminum that have been bored out to hold linear bearings that I snagged many moons ago from C&H Surplus. (Sadly the store's gone downhill and these sorts of items are hard to find there any more!). Hilighted area shows area where old fence attaches to new tackle.
Photo #3: Shot from other side. Forward block holds a bit of scrap barstock in place via setscrew; back block holds linear bearing so that it can slide smoothly along the rod.
Photo #4: And armed with this device I was able to cut parallel slots to make this mini-shelving system. The material is some 1/4" Melamine that came my way via one of those "Hey Ed I dropped off some stuff you might find a use for someday" kind of things. Hard to believe but I actually did find a use for it!

So, at long last, with all the stuff I could imagine adding to my shop added I finally got down to doing some actual WORK! First up was an attempt to figure out how whistles work. I'd been looking around for a good source of whistles on the web but everything I found was either ugly or very expensive. I had need for several dozen of them if I was going to have a chance of making that calliope I've been coveting for several years. In the end I found some info that described how to build a Helmholtz Resonator, which is the mechanism by which most whistles do their thang.. With that bit of knowledge I made a small run of whistles.

Photo #5: Small test rig I made to assemble top and bottom elements of a whistle, to get a feel for ideal dimensions. The thingy hanging down from the top of the whistle gives me a visual indication of the top end of the air column, so I'll know where to cut and cap the pipe for each desired note.
Photo #6: Closeup of the business end of a Helmholtz Resonator. The tapered lips are essential, as is a matching taper on the rim of an invisible internal plug in the lower portion.

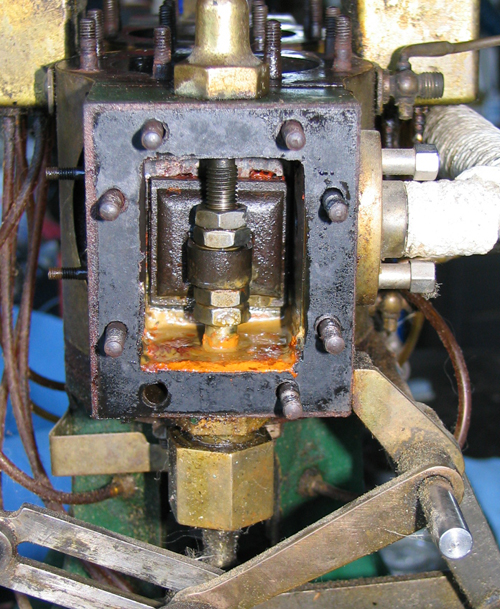
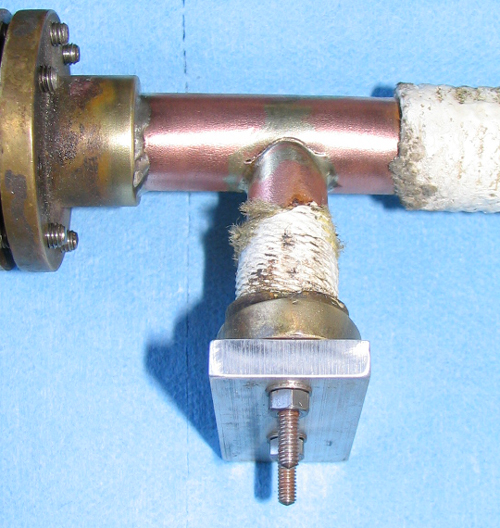
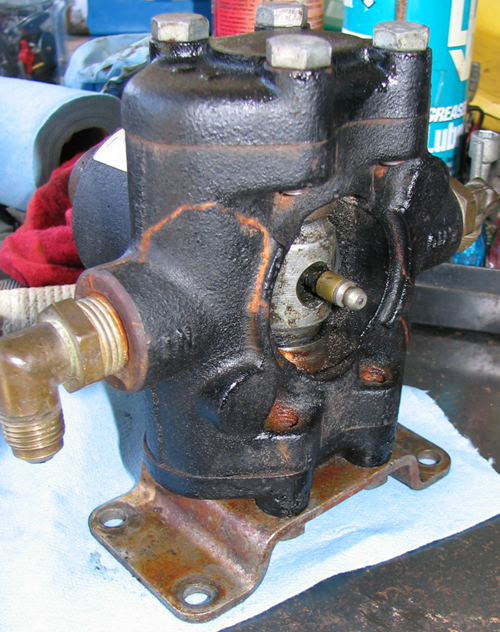
Setting aside the whistle project for a bit I had a visit from my stoker Richard. We took time out to tinker with the steam engine and other bits and bobs from my steamboat.

Photo #7: Annual steam engine inspection and maintenance time! Despite copious quantities of oil being poured into intakes before laying up for the winter there was enough condensate left in the aft valve chest and the aft cylinder to leave no doubt that we'd have to strip the whole thing down once more! Definitely time for new gaskets, too.
Photo #8: In addition to dealing with corrosion woes for several seasons now I've had a persistant and growing leak in the exhaust manifold. It doesn't affect performance but it does make for a soggy bilge so the time had come to plug it. Here's a shot of the underside of the manifold at the intersection of two pipes, whence cometh the leak.
Photo #9: Adding insult to injury department: seems like more than a little moisture got left inside my feedpump over the winter! The main casting cracked right across, so the whole pump was junk. Fortunately good old "Retentive Roger" had three spares I could choose from for replacement, heh.
Photo #10: The Captain's plinth (here shown upside down) is pretty well shot too. It was originally very nice looking but I neglected to put enough coats of finish on it to have it last more than a couple of seasons. I've wanted to improve the design, too, to something that can do more than merely swivel: I'd like the next plinth to have the ability to rock fore and aft a bit, too. More work ahead, eh?

Somewhere along the line I realized I needed another widget for the shop so I stopped work on the plinth to build it. It's a simple thing, designed to remedy a deficit in my Jet benchtop spindle sander, which lacks sufficient up/down movement to utilize all of a sanding drum. With this I could complete the plinth and a couple of other woodworking projects for the steamboat.

Photo #11: It's nothing more than a riser. With this simple contraption I can utilize the whole length of a sanding drum, when working on thin parts by adding or removing this "shim".
Photo #12: Innards of the spacer. Very simple, yes? The lip on the left gives clamps something to hold onto so that they won't interfere with work sliding around above them. Short spacers around the hole create a plenum that preserves vacuum force beneath, to suck away sanding dust.

Return to Works In Progress