Deadlines approach!
–Hope to get enough of calliope together that I can give a decent presentation about its growing complexities at the upcoming Second Tuesday meet. But the biggie will be in San Mateo on May 30-31 when Makers Faire takes place. Time grows short to get the damned thing working and stylin’.
Meanwhile WordPress is giving me fits as usual; I’m typing this into a box that’s about 3″ wide and maybe 1″ tall and WP won’t let me resize it!! Half the text is off the edge of the screen so if I mistype I can’t see it!! I’ve written extended explanations of each photo, but I can’t seem to force WP to show ’em so gentle reader is on his/her own as to what’s going on. Following are reconstructed summaries, so that you’re not totally lost.
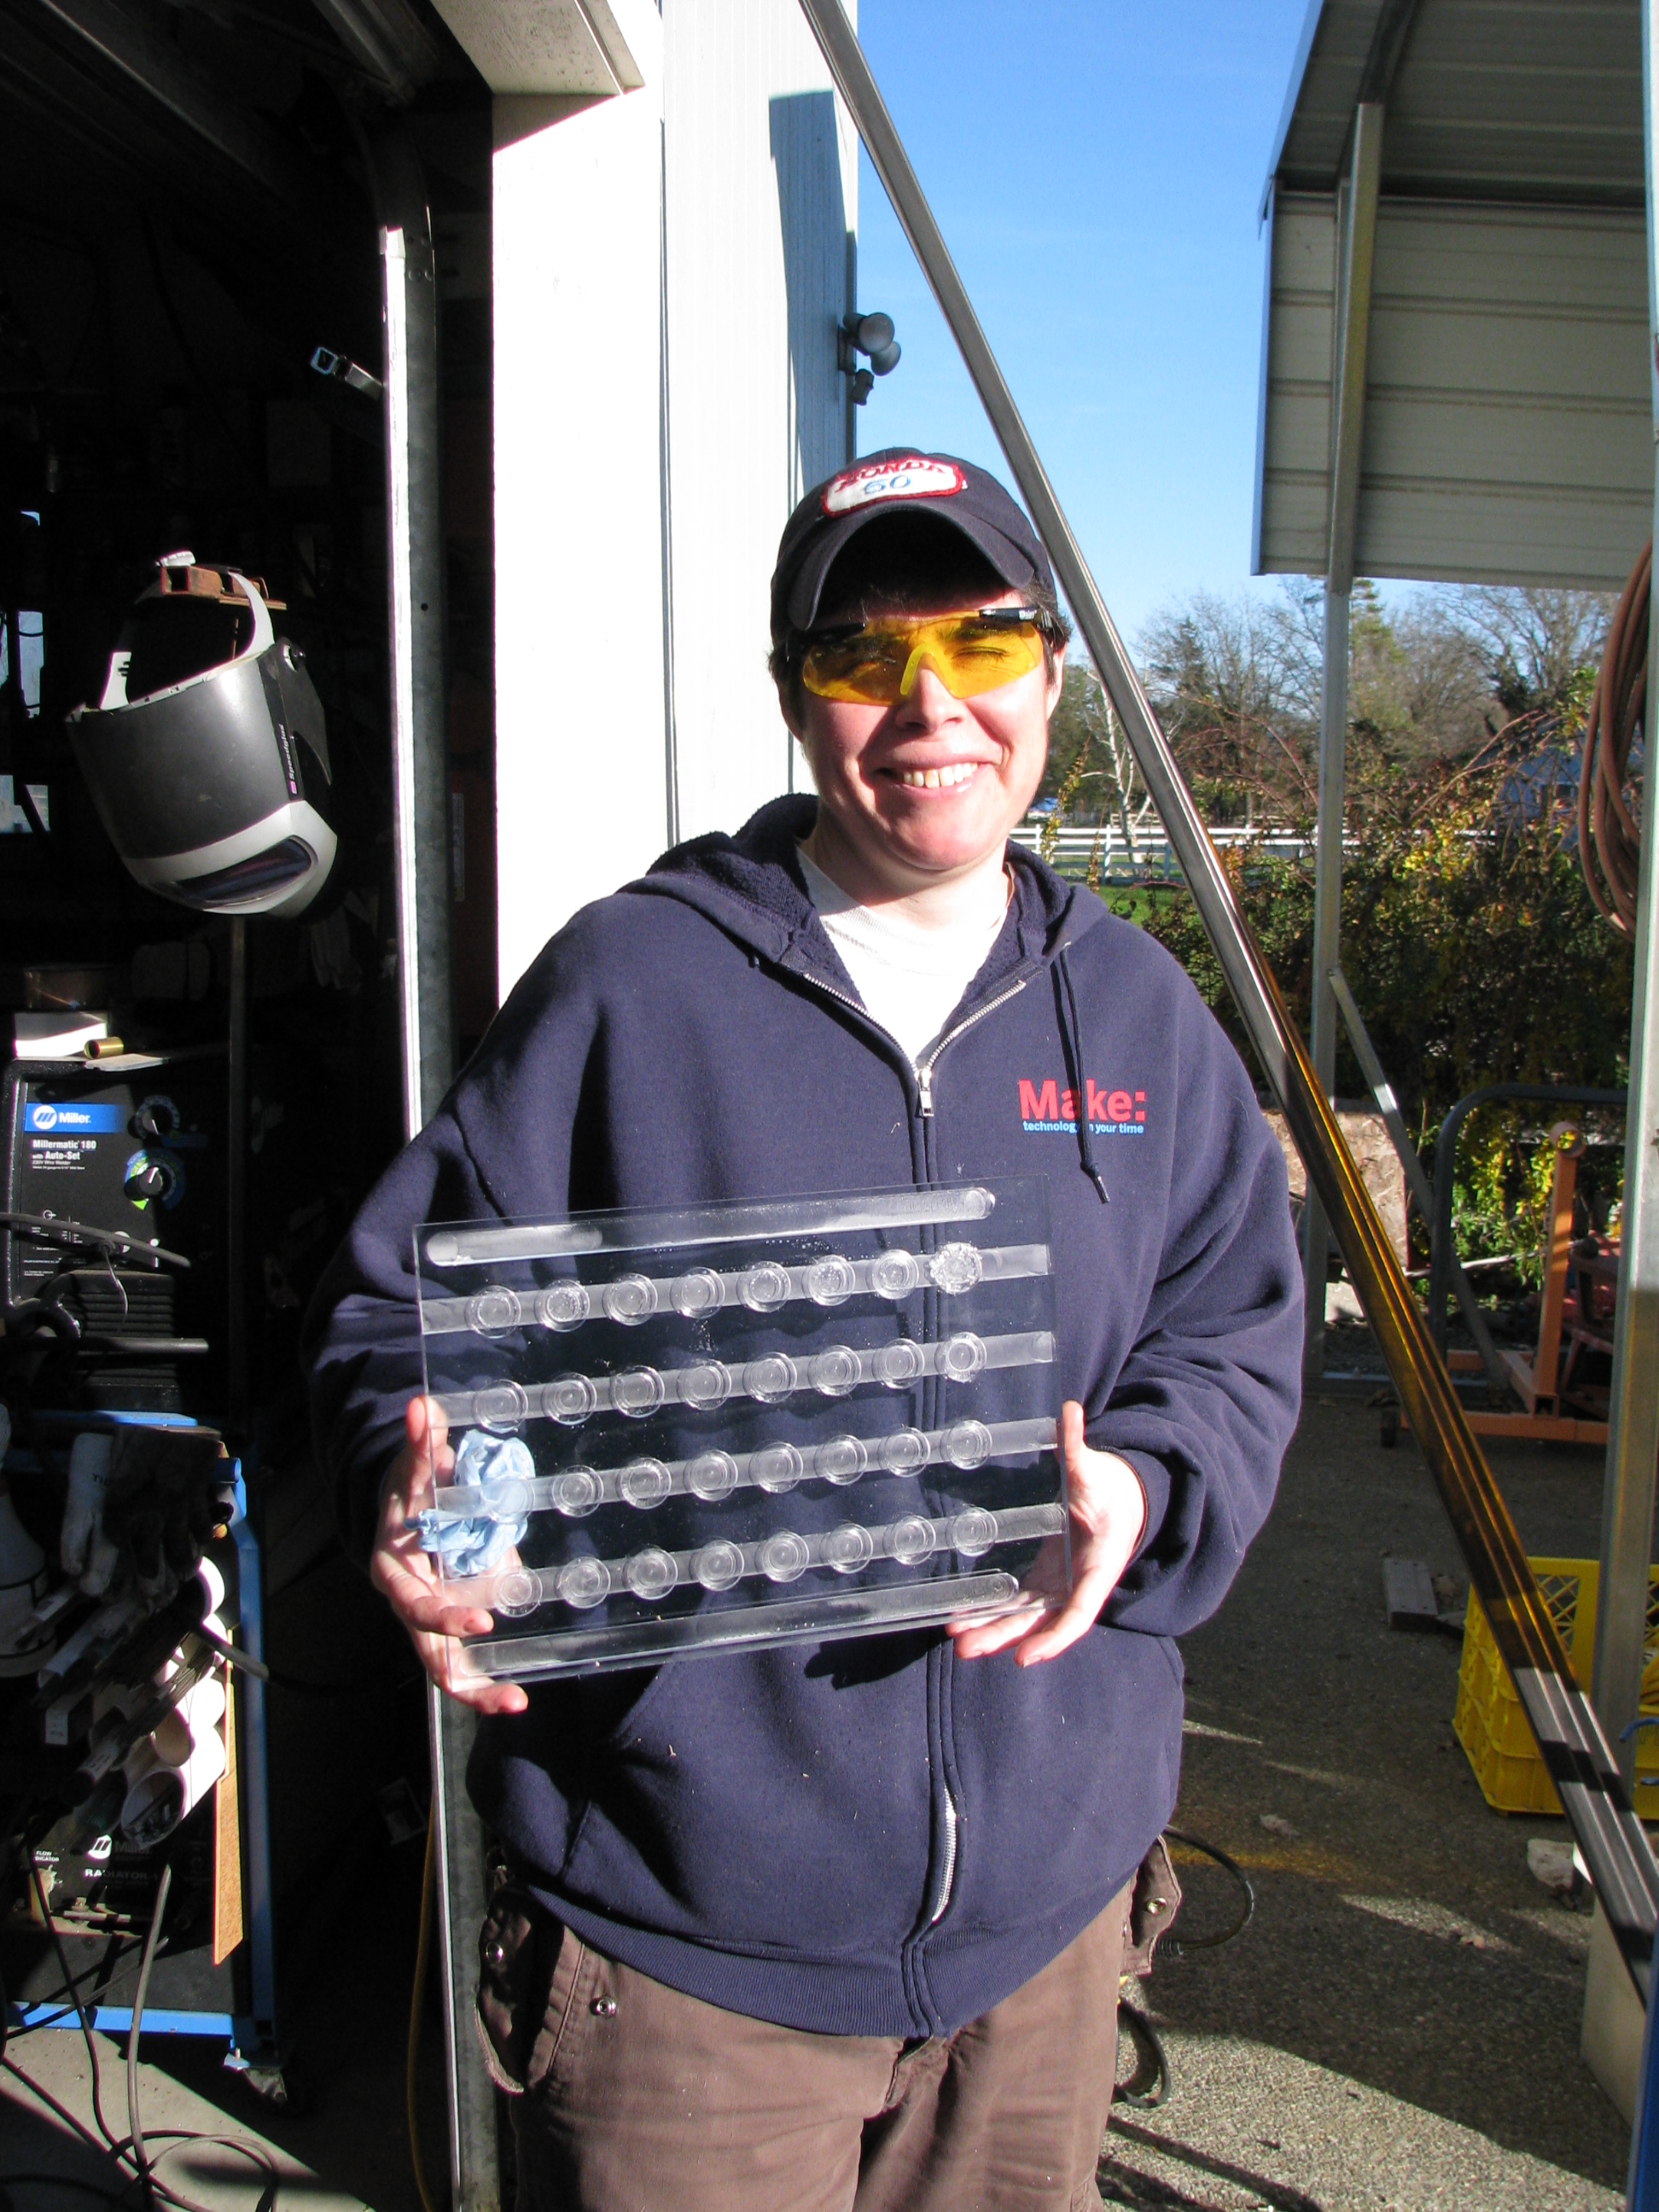
Photo #1: Stop press! Had a chance to make a few bucks. Kris Magri, a great friend (who’s been invaluable to me in the software end of the project) and an intern at O’Reilly Publications, holds a Lexan widget I made for her, for an upcoming article in their zine, “Make“. Kris makes prototypes of all future “how to” articles, to prove they can actually be made, before they go into the magazine. Took me 5 hours. They paid me half my minimum so I lowered my standards accordingly. Heh.
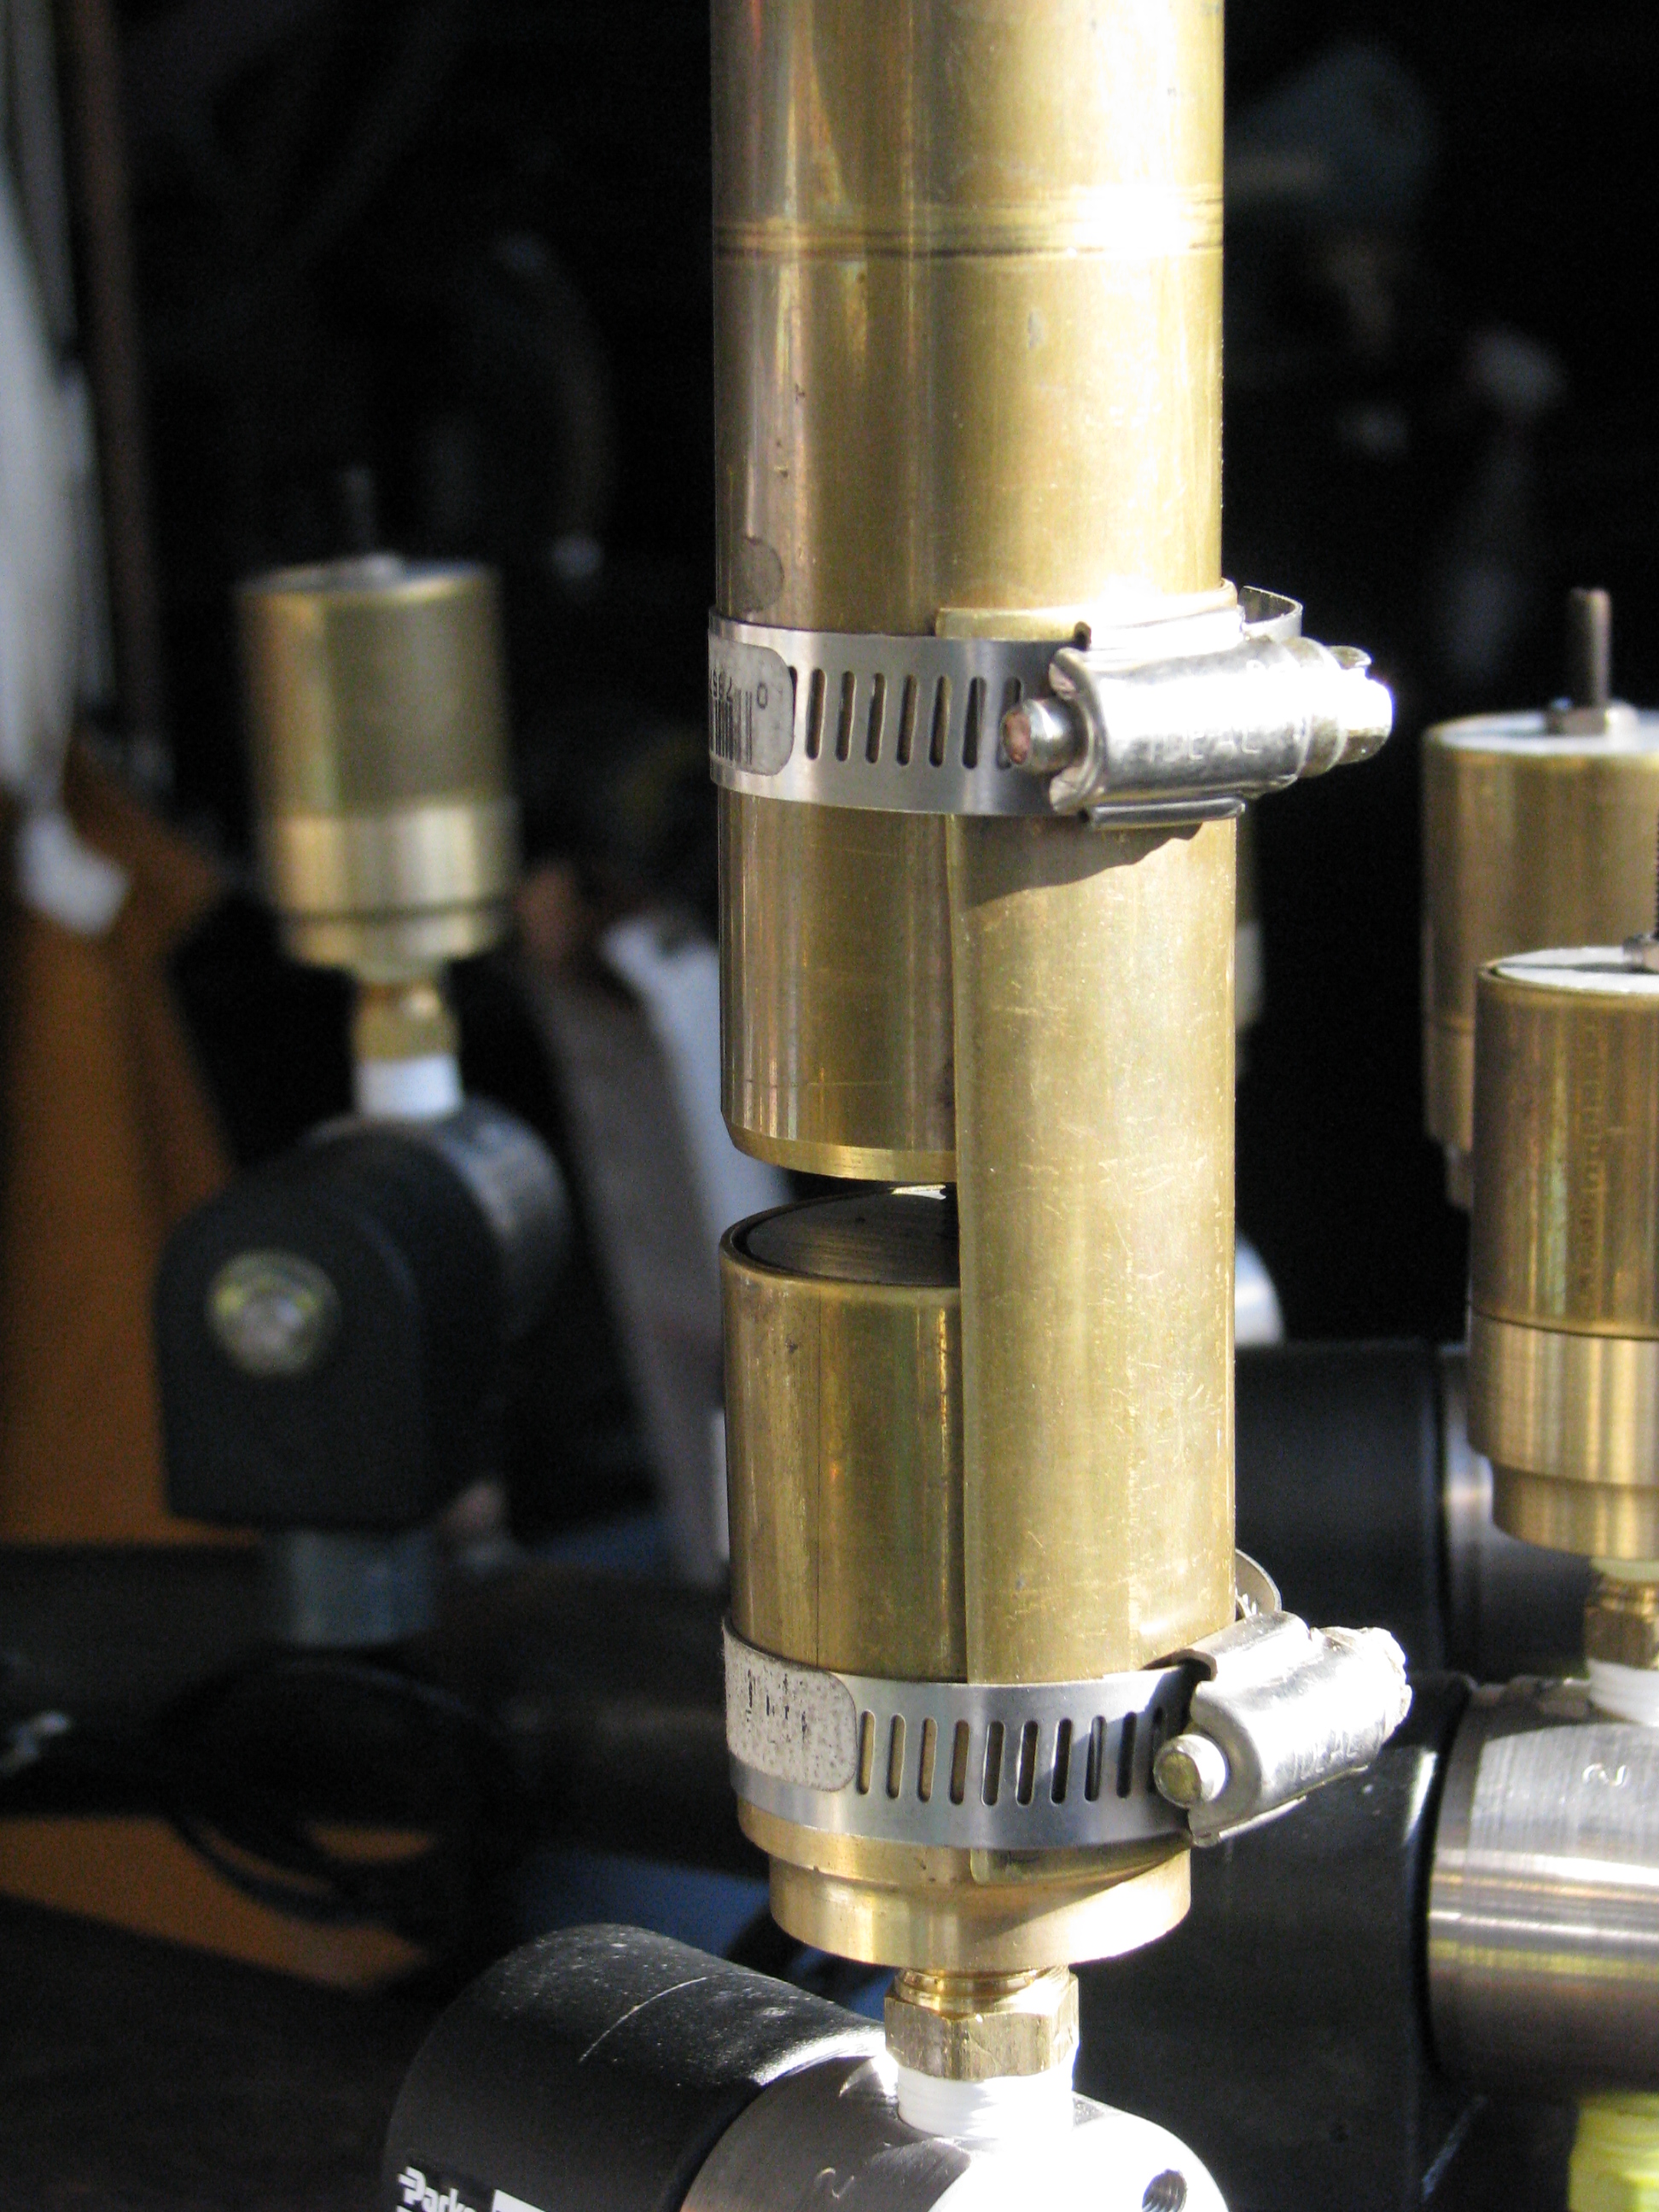
Photo #2: Closeup of the scheme I’ve adopted to attach bell to foot, to procuce a complete whistle. Hose clamps permit movement for tuning. Eventually I’d like to weld or silver braze everything together but I’m not ready for that yet.
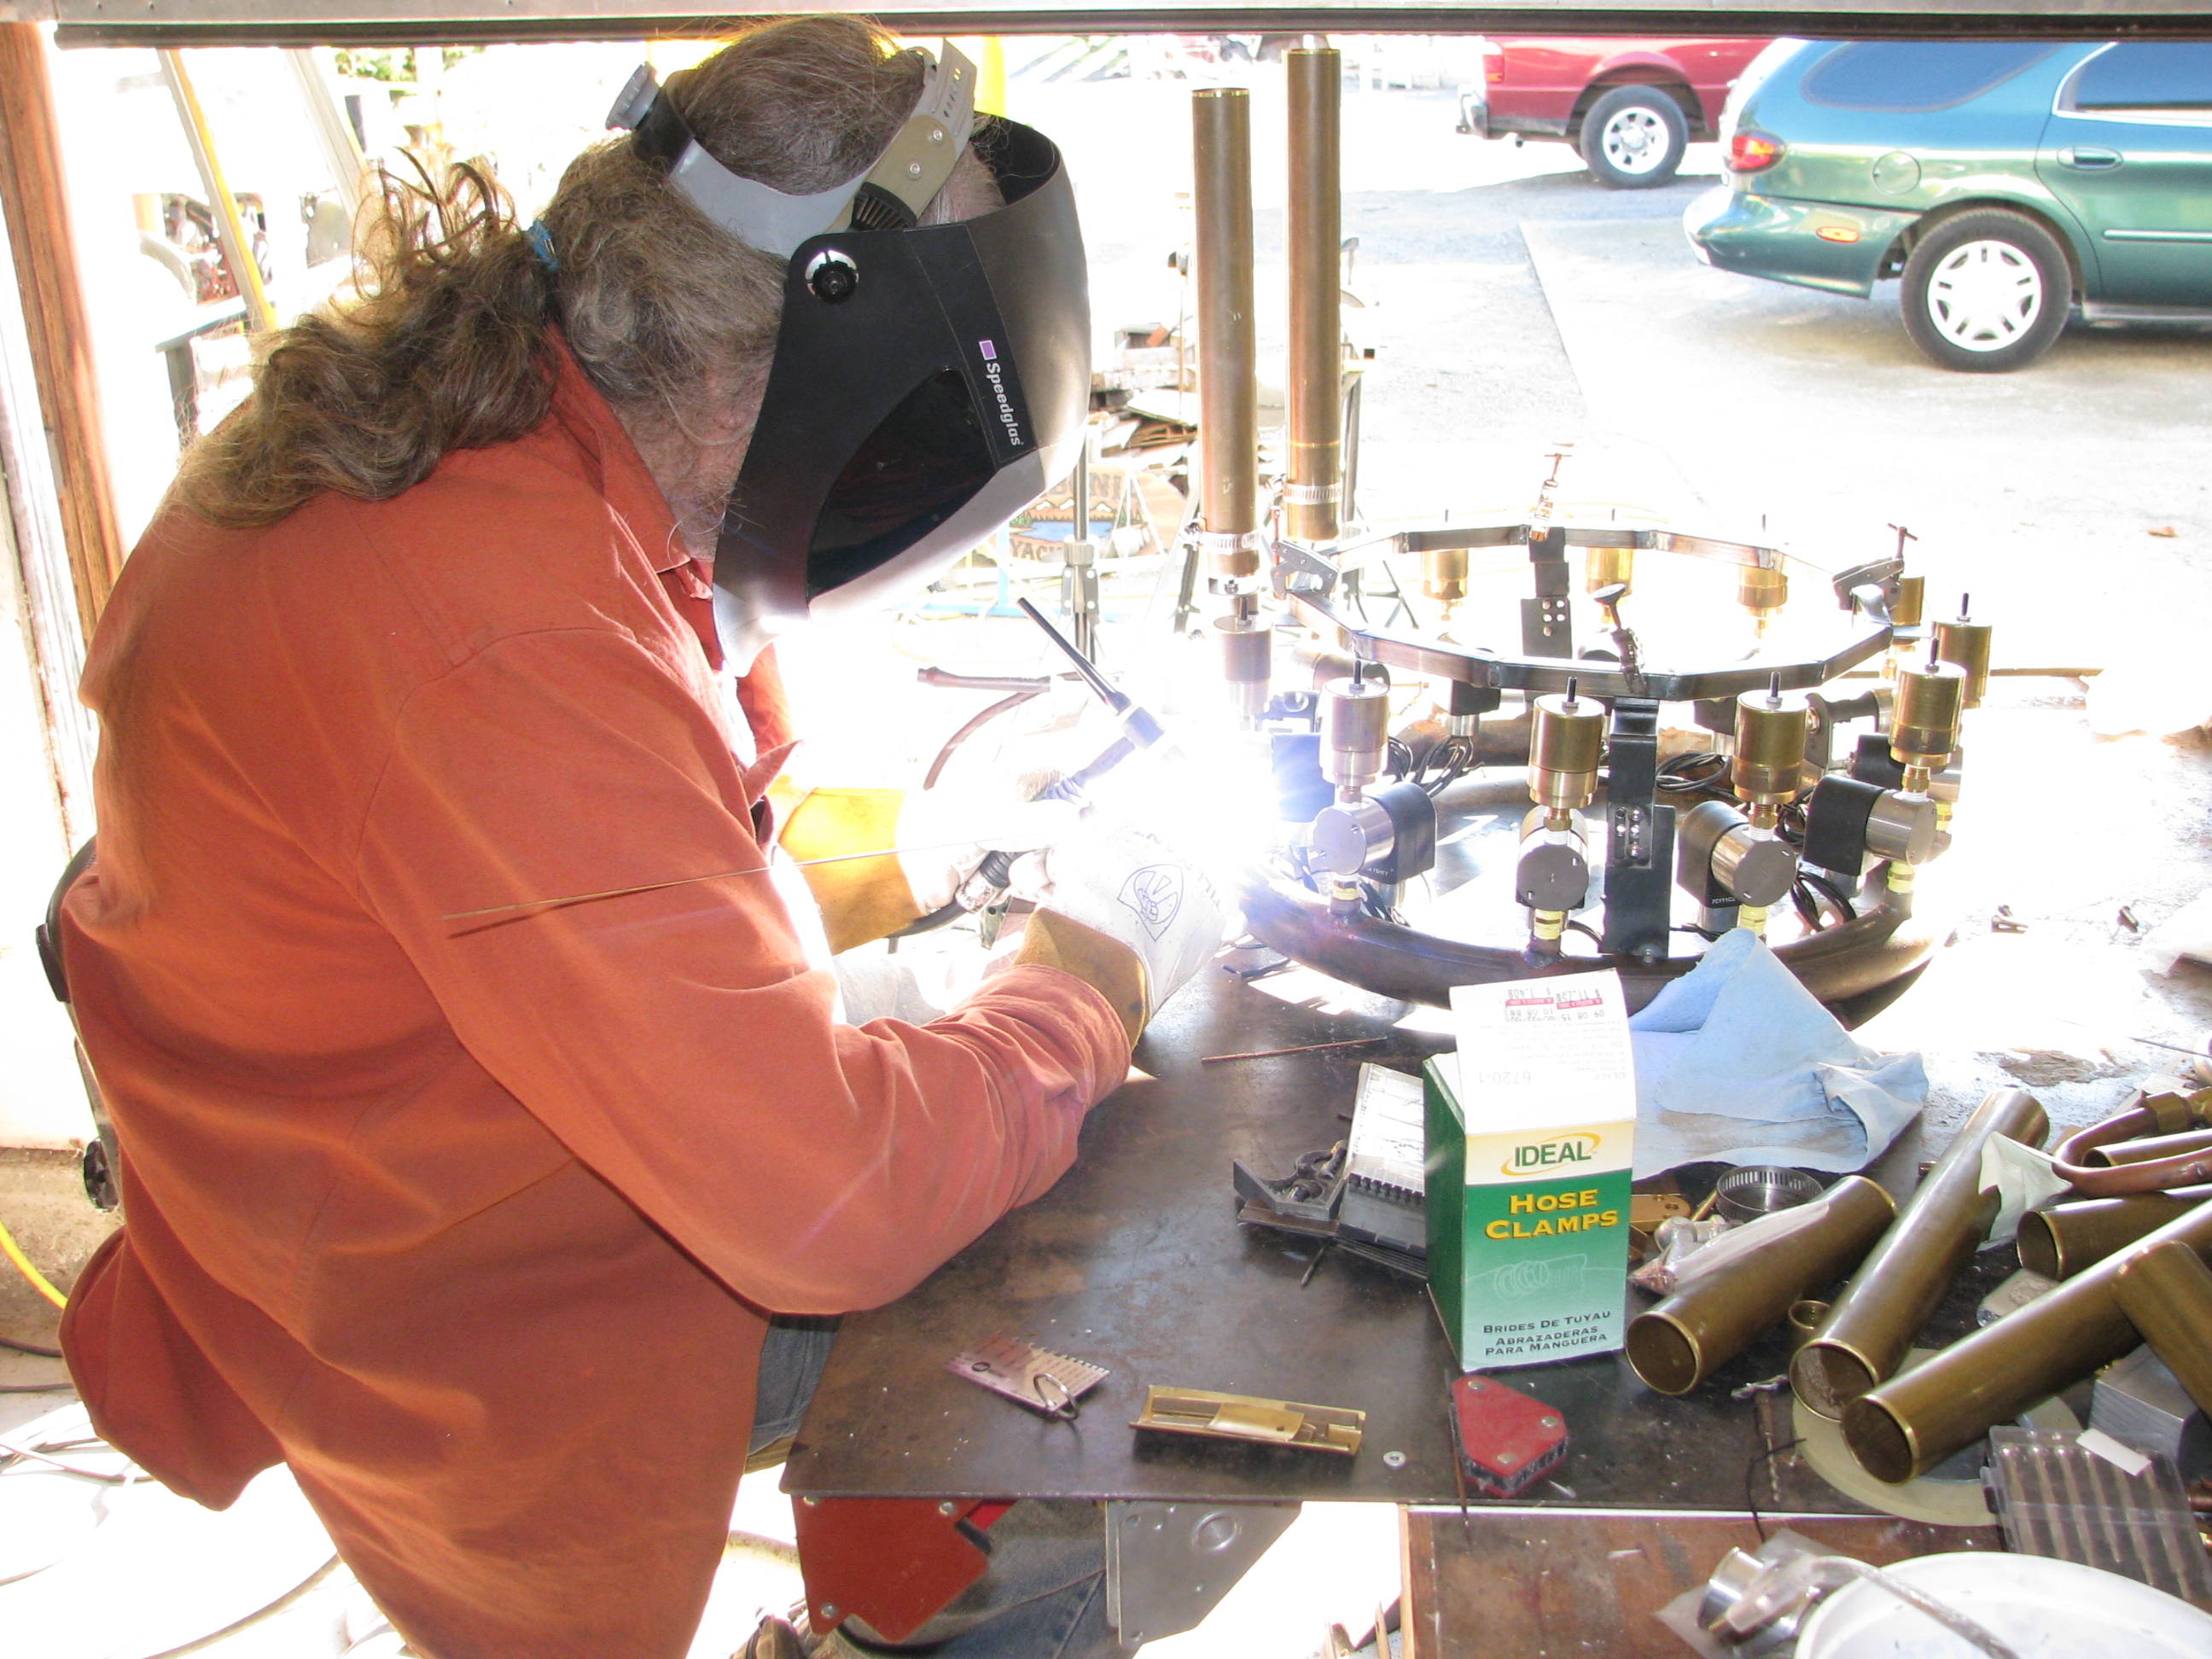
Photo #3: Kris snapped this photo of me hard at work welding on one of the four adjustable mounting brackets used to support the pilot ring that needs to sit a few inches above the main manifold ring. Lotsa welding to make this beastie; good practice.
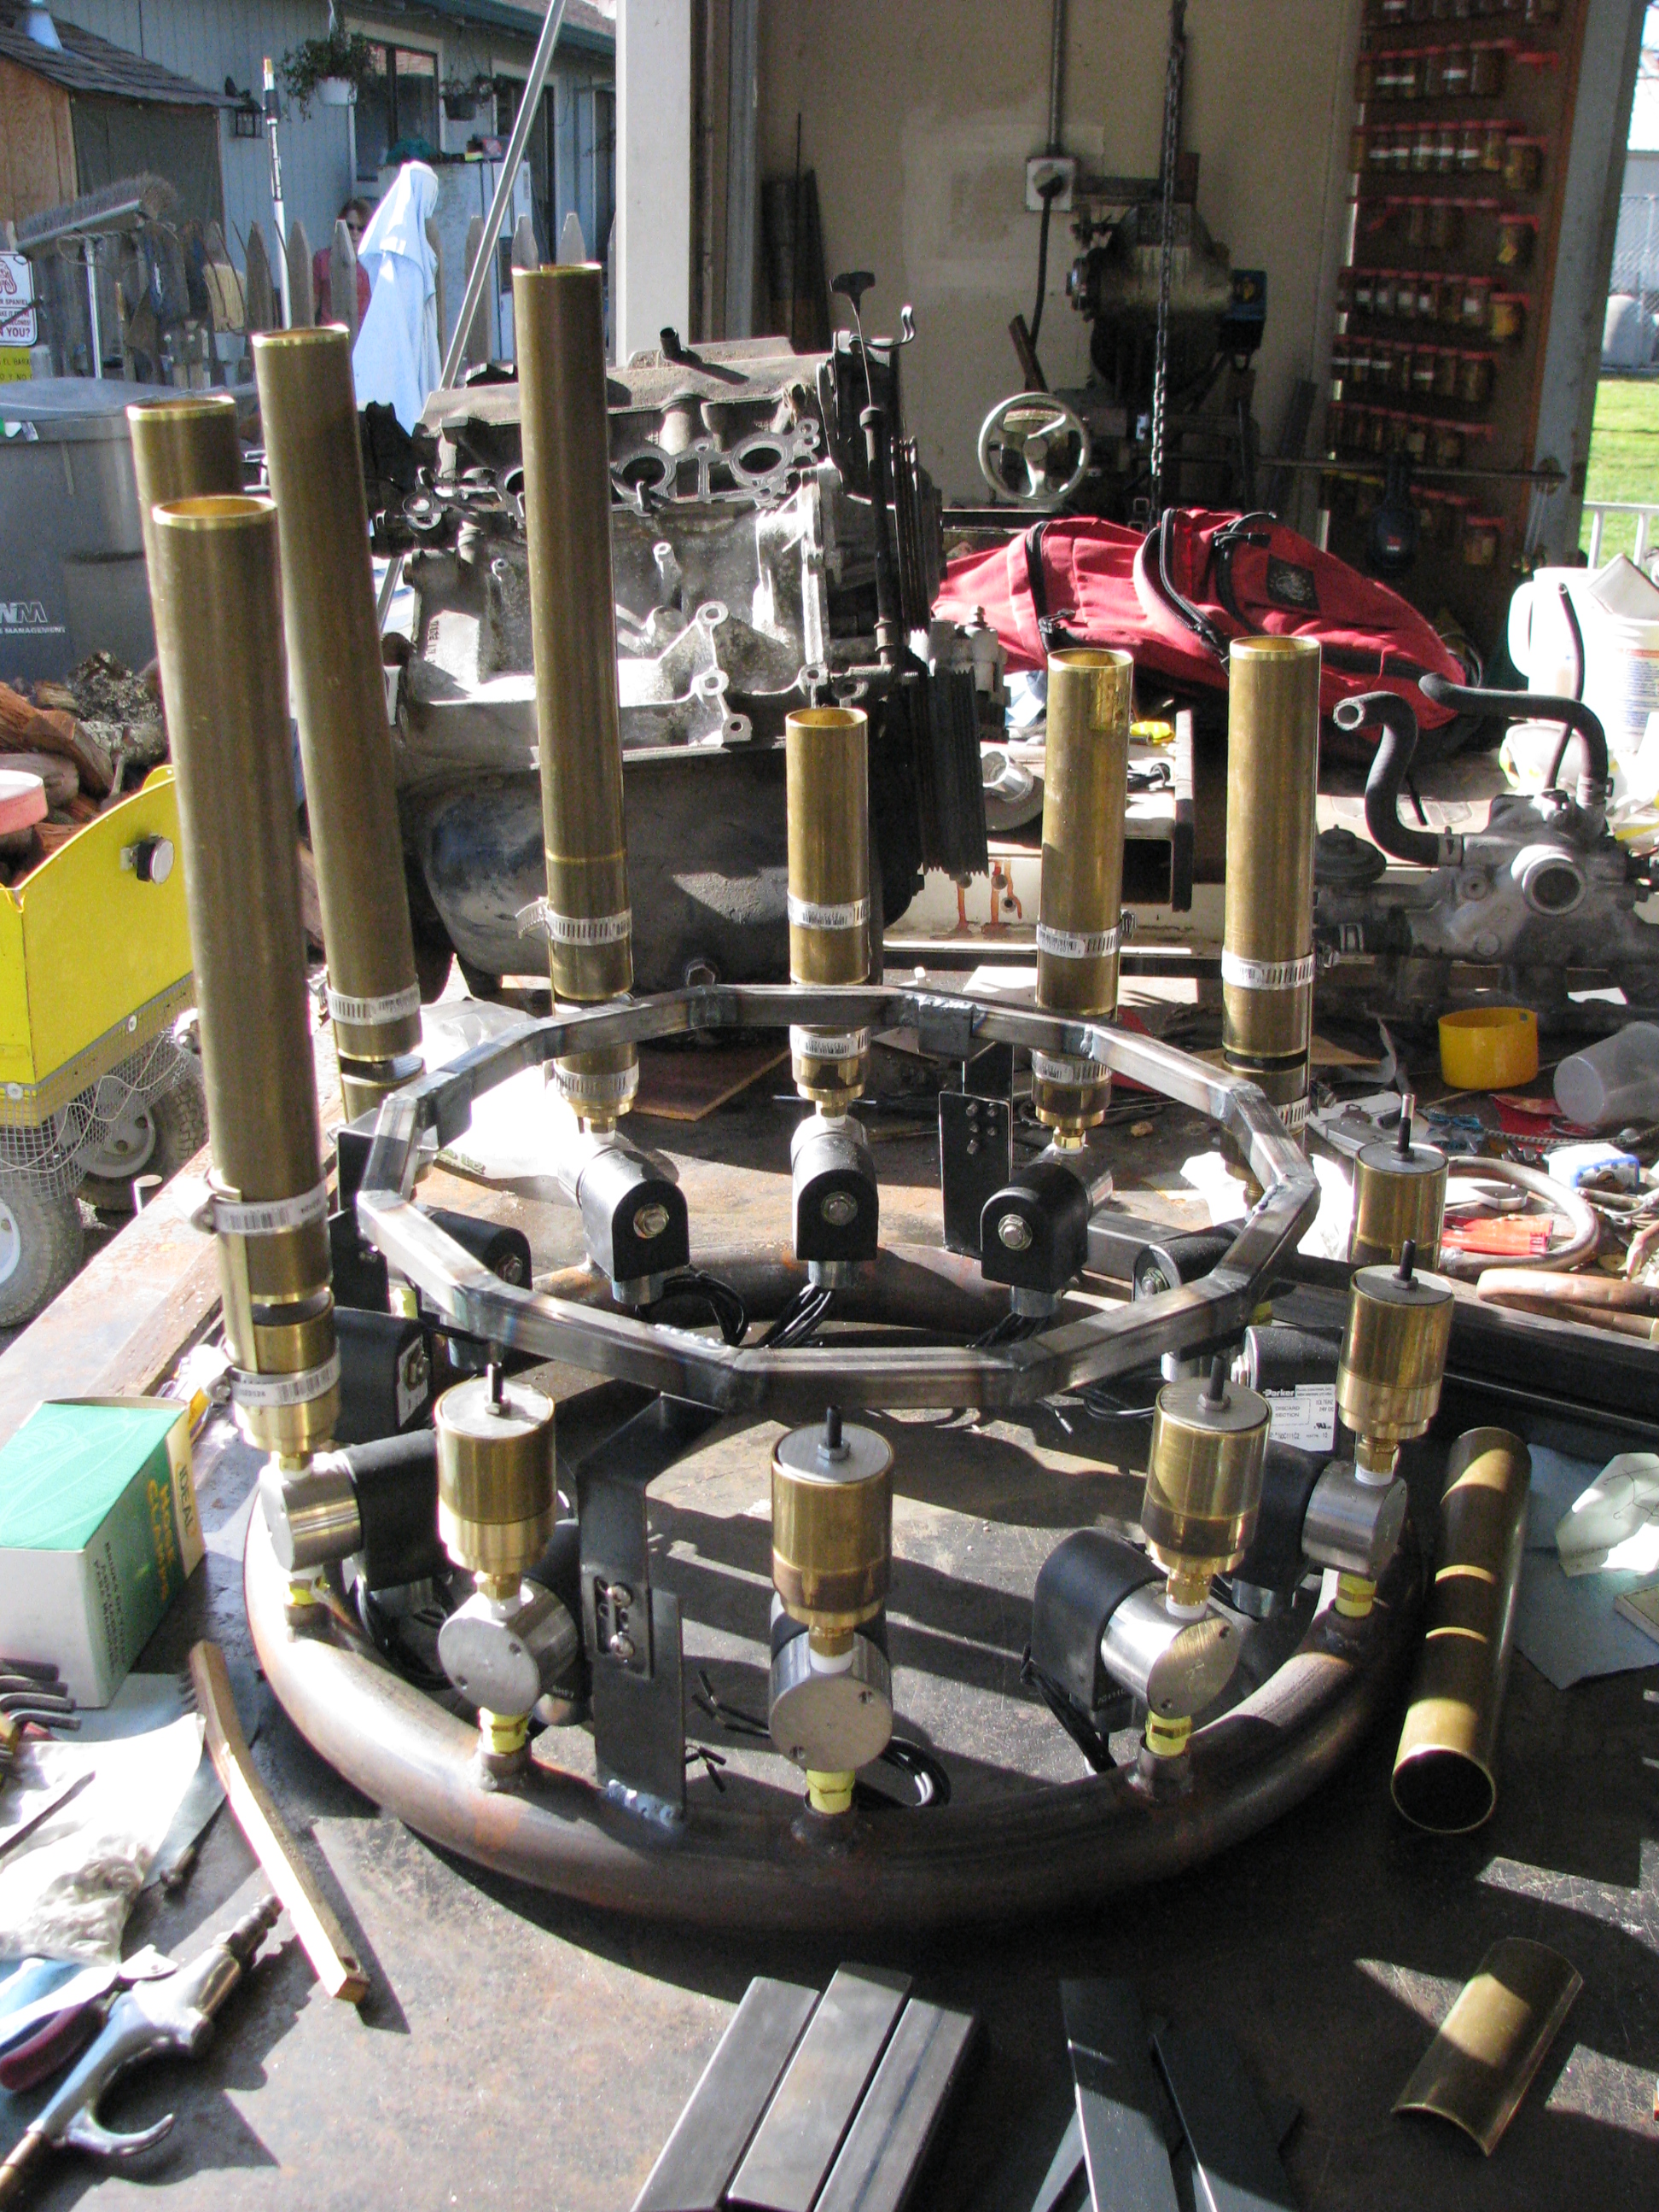
Photo #4: With 12-segment pilot ring fastened at correct height I’m beginning to assemble whistles around the manifold. Seven assembled and five more to go and I’ve run out of brass! No luck at the junkyard so now it’s hurry up and wait for the UPS guy to deliver more.
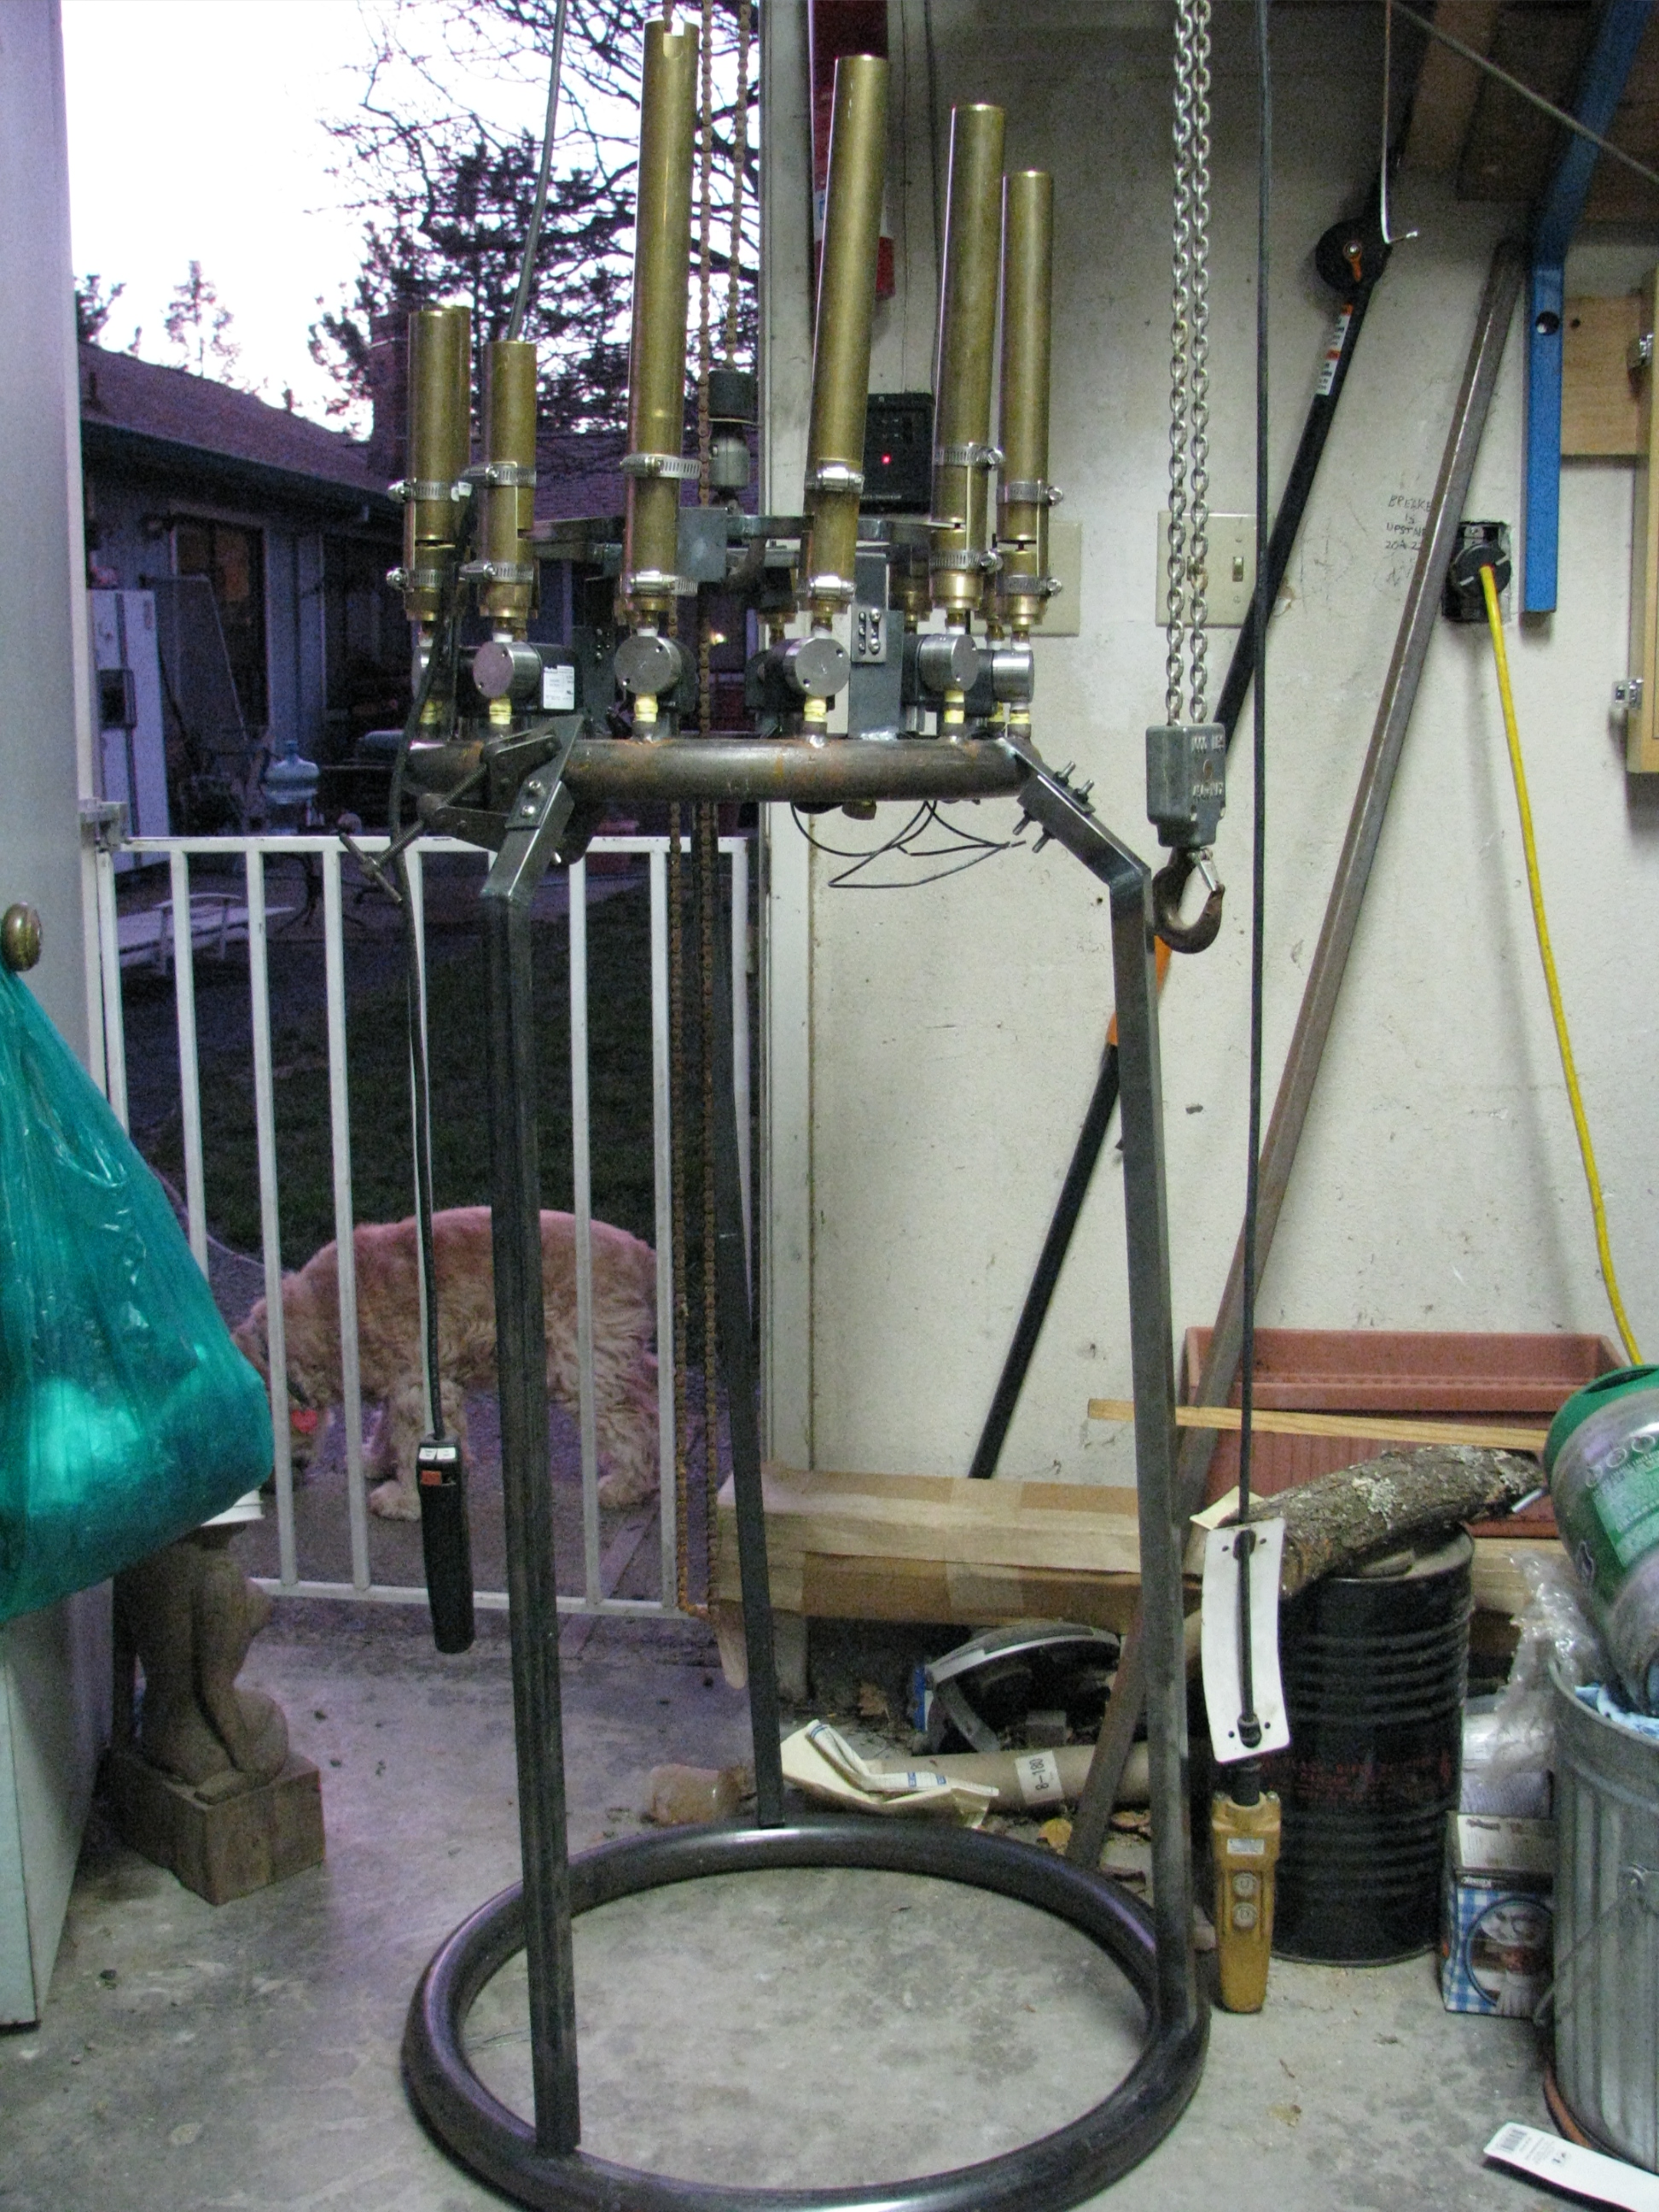
Photo #5: While awaiting arrival of bell brass I started work on a mounting stand. If it looks lopsided it is! This was a gawdawful PITA to arrange, due to weight and awkwardness of the device. With Richard‘s help I got the thing hooked up to a makeshift lifting bar and hoisted it to a convenient height. Once there I could clamp on pieces of 1/8″ x 1″ x 3″ long steel plates I’d eventually weld on to attach legs. This was a royal pain as the clamps kept sliding around the round manifold.
