| Photo #1: July 20 Trial fit of 1/8" plywood hull pieces to 3/4" plywood keel. | 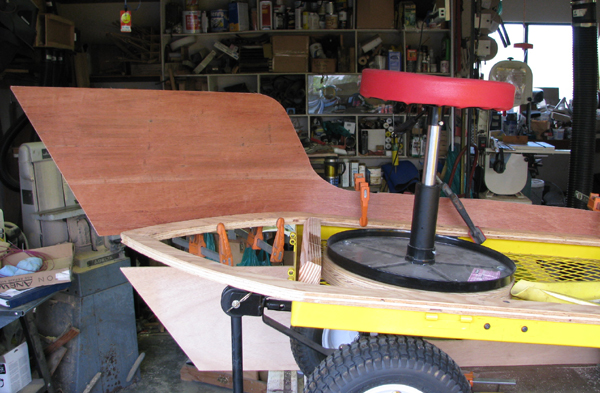 |
| Photo #2: July 24 Made transome and its framework. Glued and screwed. Trial fit of edging: it's ugly; gotta do something else... | 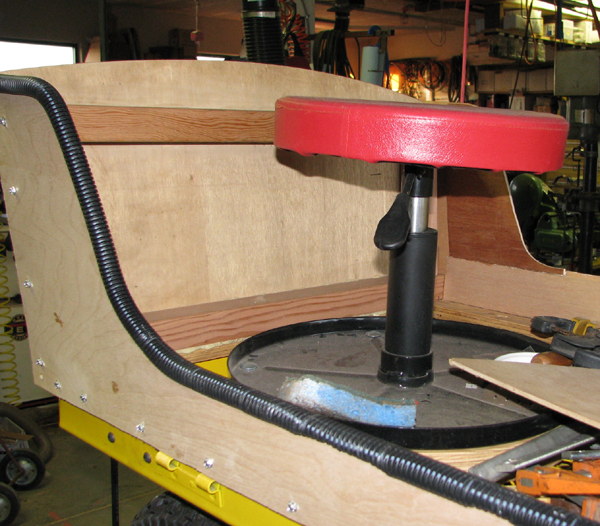 |
| Photo #3: July 27 Jigsawed, sanded, bent, secured and glued joints of 1/8" plywood hull, then glued in a second (segmented) layer of 1/8" ply on inner sides to strengthen hull and transome. | 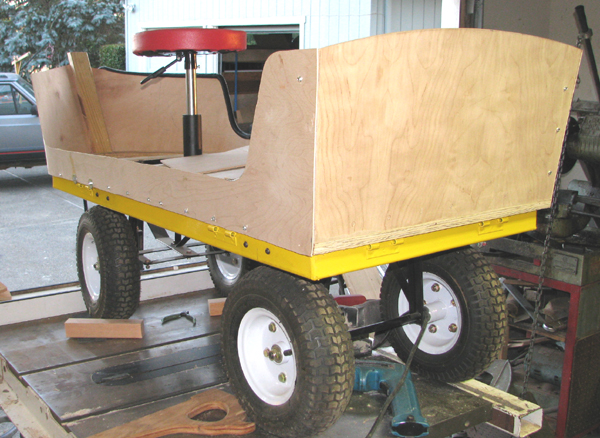 |
| Photo #4: July 28 Welded and painted manual tow bar. This will be used to drag the cumbersome contraption as needed around camp. | 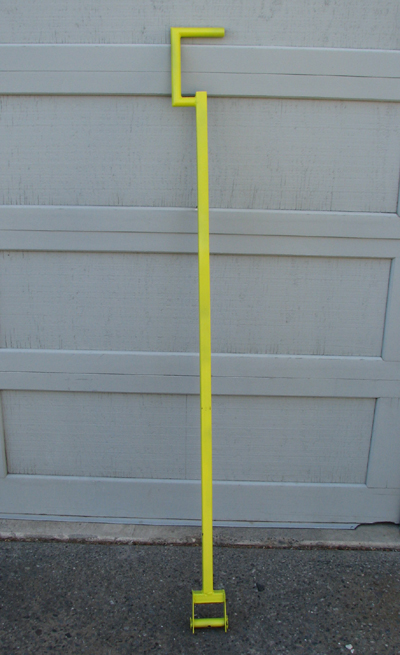 |
| Photo #5: July 29 Made bow lower and upper "decks"; the latter with essential cup holder holes. Reinforced critical joints with fiberglas tape; pigmented yellow to make over-painting match better. | 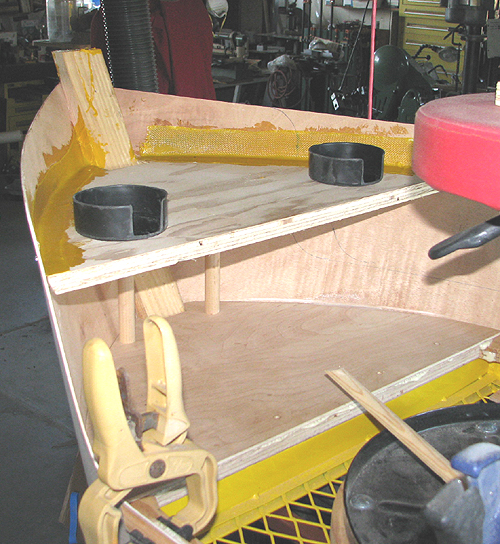 |
| Photo #6: July 29 Welded, primered and bolted in bow reinforcement. | 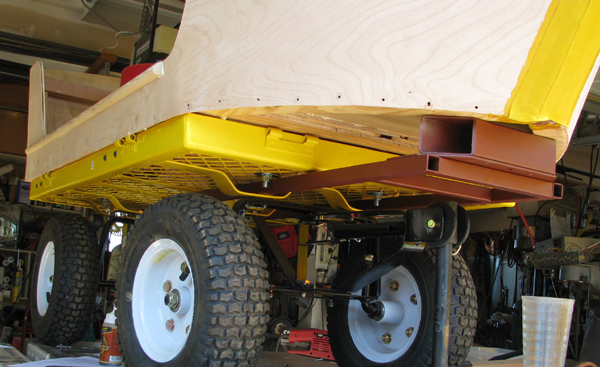 |
| Photo #7: July 30 Reinforced hull edges with half-round trim, then sanded edges smooth prior to painting. | 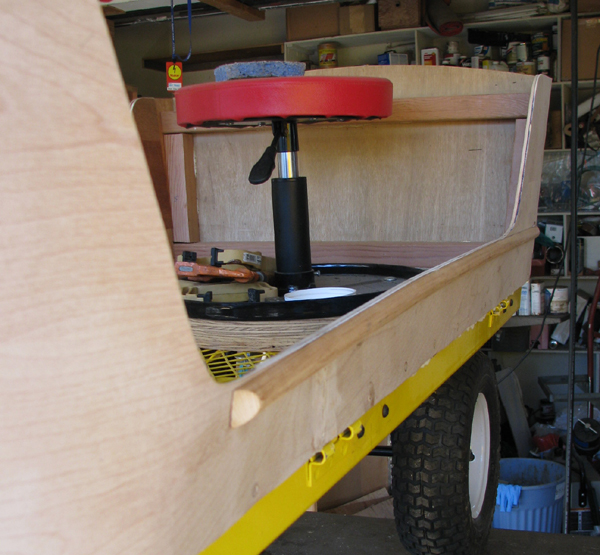 |
As yet undone:
Paint plywood hull bright yellow and glue on name
Attach art work; do something to illuminate stern better at night
Secure Gel-cell battery in bow; include on/off switch and charging jack
Attach CCFl beneath chassis
Make EL "fish" with waggly tail for sides/back of trailer??
Short John Silver done list:
| Photo #8: July 4 Figured out a trailer hitch that works despite centerline location of boarding ladder. | 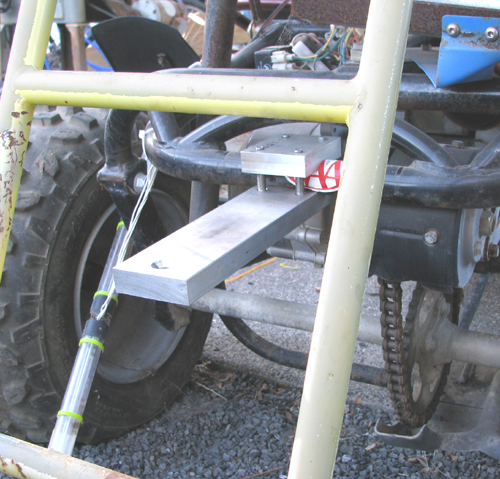 |
| Photo #9: July 5 Removed bow brace, welded on two 8" extensions with plates on ends. Plates provide more secure fastening points for sequenced arrays of EL wire. Positioning arrays this way makes it a lot easier to access the lower driving position. | 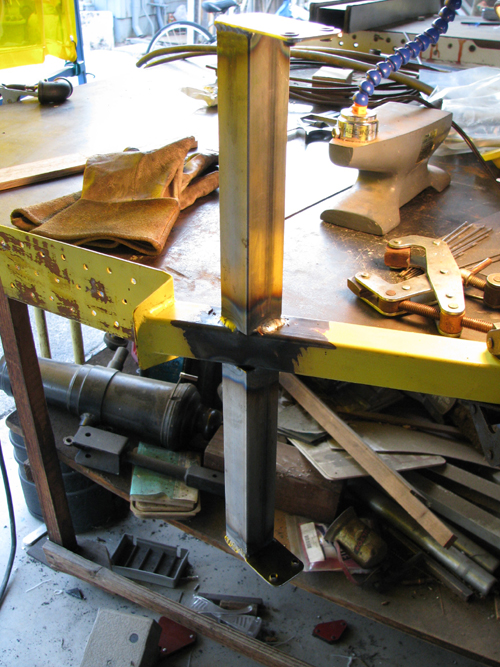 |
| Photo #??: July 6 Got Squidly set to rights with new brighter EL wire in the tentacles; no photo yet; gotta set up a camera on a tripod to get good night lighting shots... |
| Photo #10: July 13 Replaced gas and brake pedal chains with stainless stuff that won't foul from lubrication. | 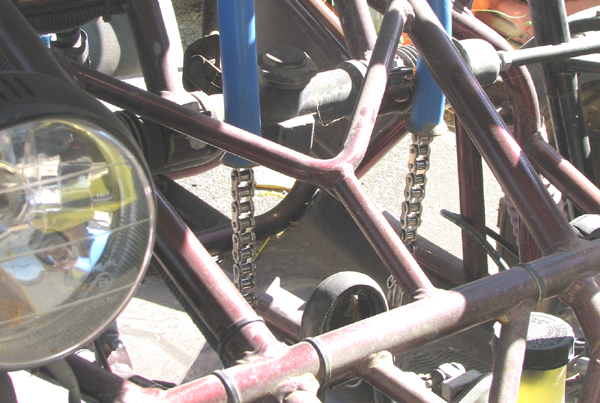 |
| Photo #11: July 15 Added fuse holders to both ends of instrument panel. I'll use them to mount special instrument lights that are shaped like fuses. Blob in the middle is distorted reflection of holder attachment screw. | 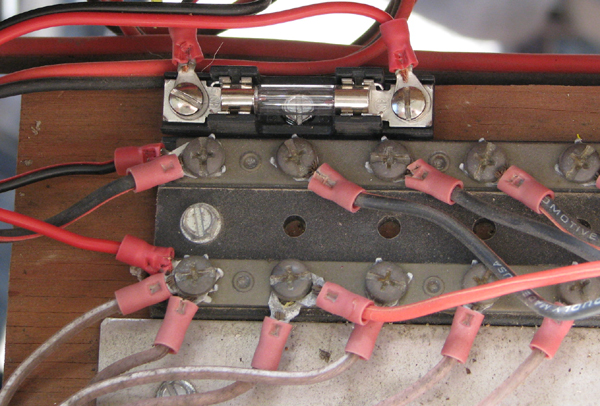 |
| July 17 Soldered up new yellow EL wire for gun ports and hull profiles. Lancelot got most of 'em installed by himself! |
| Photo #13: July 21 Installed new battery with Lancelot's help. Still gotta include charging jack of some kind... | 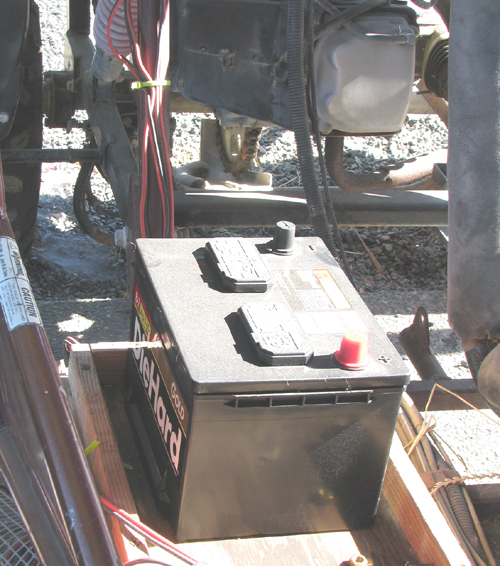 |
As yet undone stuff:
Make new knobs for throttle linkage: #10-32 and electronics hatch cover
Replace fuel filter with the small, better one
Make looooong adapter for carburetor intake rubber hose
Replace muffler strap with a better system
Mount inverters for AC EL sequencers
Make tethers with small carabiners to attach squidly; include bowsers to adjust
Find missing lower section of umbrella; put two together and try out
Add laser arrays to umbrella pole
Add cup holders!
Add socket for air filtration power on upper deck
Add EL to piratical duds
| Photo #14: Overall shot of installation about mid-way complete | 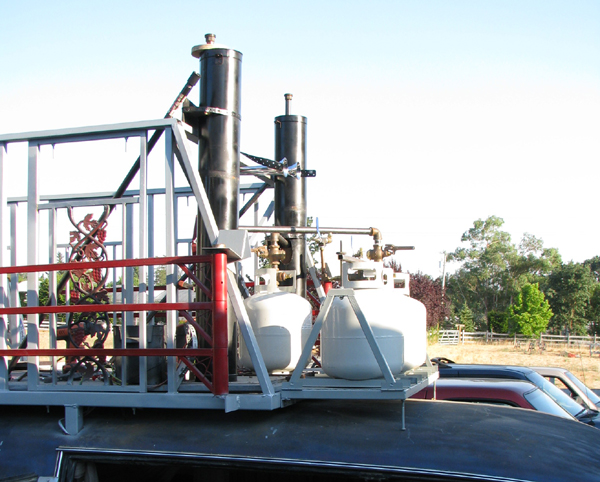 |
| Photo #15: Machined and welded up pilot light supports to standard 3/4" Sched 40 pipe. | 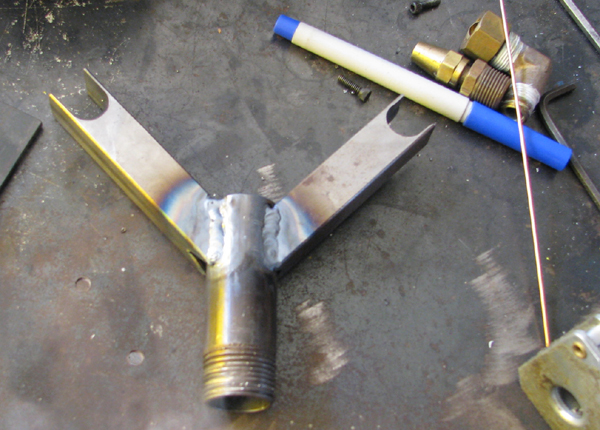 |
| Photo #16: Bent, mashed end, brazed 1/2" copper tube to form pilot light rings. Each has 8: .050" dia holes on its i.d. | 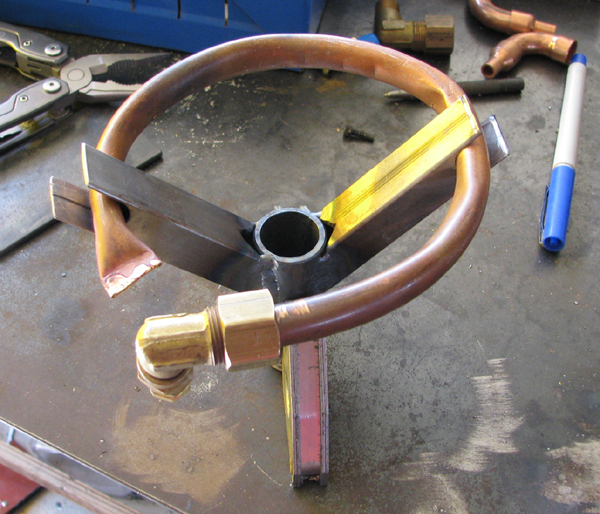 |
| Photo #17: Complete pilot light assy connected to upper standpipe. Copper pilot light propane delivery tube is 1/4" dia. | 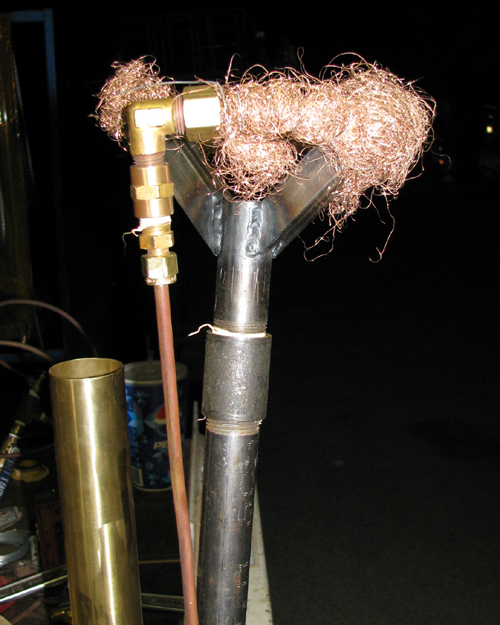 |
| Photo #18: Decided that copper sucked as it was hard to fit the stuff inside the stacks once the bronze wool had been added. Found an old unusued stainless steel stack economizer from my steamboat and proceeded to cut it up with the idea of welding it back together as a bunch of smaller diameter, sturdier pilot lights. | 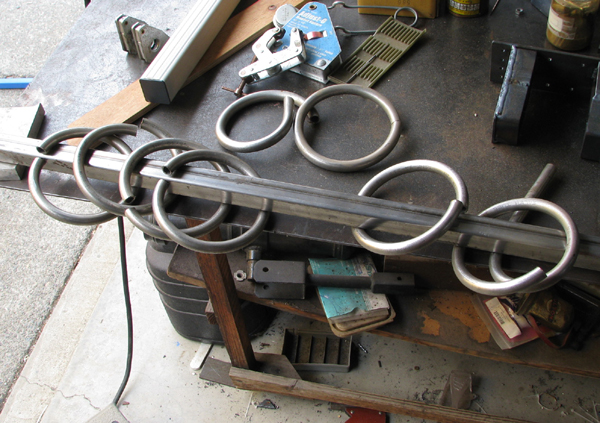 |
| Photo #19: Stainless ring o.d. is about 5", which fits easily within a 6" stack, even when covered with bronze wool. The trick was to clean up the sawed ends and weld 'em together to get a gas-tight seal. To get the gap as small as possible I put each ring in this arbor press, then with Lancelot gently bearing down on the ram lever I could tack weld the two ends tightly together. Couldn't have done it without my Miller Maxstar and its pulser function, which I'm still figuring out... Photo shows one a little further along, with 1/4" stainless tube attached. I join this tube to copper supply tube with a Swageloc coupling. | 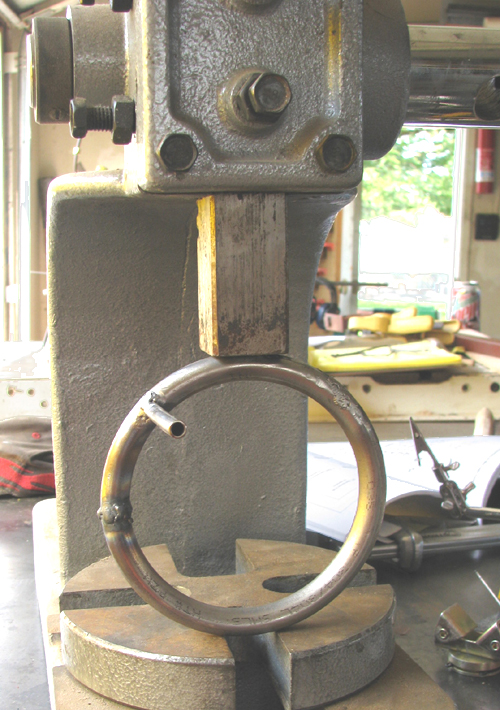 |
Return to the Art Car Project
Return to Steamboat Ed Haas
Please send feedback to: "Steamboat Ed" Haas