Hard to believe but Burning Man has come and gone and what an adventure it was! To my utter and complete astonishment the art car not only worked as planned but very well. The only problems were brightness of EL wire and noise from the engine which induced quite a bit of rattling in the add-on superstructure.
In short I had the vehicle mechanically complete before leaving for the Playa, but there was still quite a bit that needed to be done to the electronics, to make the vehicle both visible and interesting. Once at Burning Man, Don and I spent several days soldering and crimping connectors, snipping and connecting wires and drivers to make the EL wire do it's thing in some sort of coordinated theme, before I attempted to get a Playa license at the Department of Mutant Vehicles, aka the DMV. Licenses come in two varieties: day and night. A night license is easier to obtain, because a vehicle need only be very bright, when viewed from any angle. A day license is harder to get because the vehicle must be seen as something other than what it once was; i.e. the original vehicle has to be unrecognizable beneath its trappings.
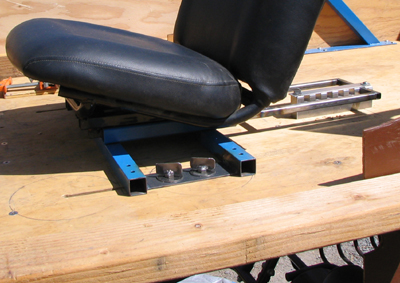
About a month prior to Burning Man I recieved email from DMV saying that the chances of me getting a day permit were hovering between slim and none, so once the upper deck controls were finished (a non-trivial aspect!) I concentrated on the nighttime visibility problem until time ran out. Although I had completed the folding side panels before making the trek I still had to do something about the front, back and upper structures.
We arrived on the Playa on Tuesday. With wiring complete, drivers secured and cabling relatively tidy, Don and I drove the vehicle over to the DMV at sunset on Thursday, unluckily parking between two larger vehicles; one equipped with glaringly bright fluorescents and the other with incandescent lighting. The inspection gal there took one look at our efforts and said the car wasn't bright enough! She said come back before 10:PM and try again, as that was closing time. We went back to our camp and, with Don and Rebecka pitching in, we added another 100ft of EL wire to various parts of the vehicle. I returned a few minutes before ten, but the gal we had talked to earlier wasn't there and the guy in charge said 'sorry, we closed at 9:30'!!
Then suddenly our luck turned. He did a doubletake on the art car, turned to me and said: "Hey aren't you Steamboat Ed?" and I said yeah, that's me. Turns out he's been reading this build blog and he gave me until closing time the following day to get the car up to snuff. Well, long story short: we went back, did some more tweaking, mostly involving battery charging and replacement as testing had so depleted the car battery that we couldn't restart the engine after the initial inspection! By late Friday afternoon all batteries were charged and we had tested the results. We drove the car back to the DMV at sunset; luckily the original gal was there, took a look and said sure, here's your permit and would we like a day permit too? Woohoo! I gave her a big hug for that! Wish I could remember the names of all the nice folks there, but my memory for names sucks. I just remember she was an inch taller than me!
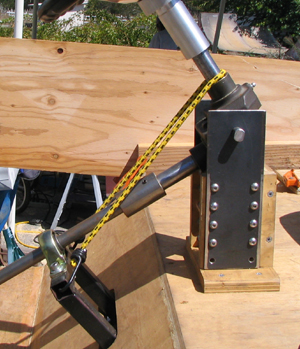
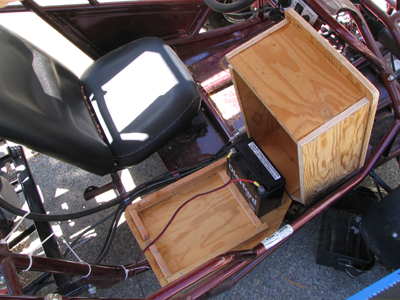
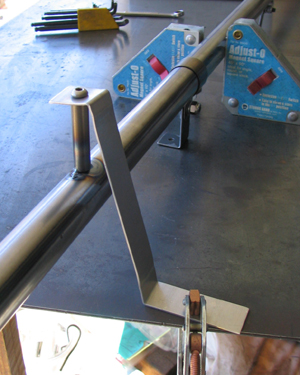
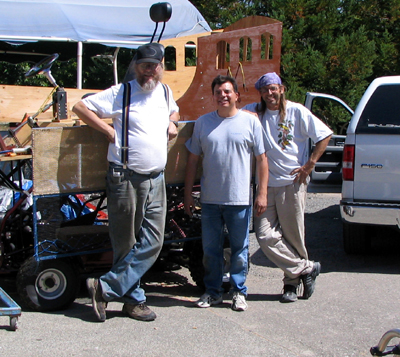
Following are photos taken in my shop and on the Playa, documenting the last of the build. For more on the adventure stay tuned for a new link under Road Trips.
For the tail end of this saga link on over to my latest Road Trip: Burning Man 2005.
Return to the Art Car Project
Return to Steamboat Ed Haas
Please send feedback to: "Steamboat Ed" Haas